

Preliminary information
These instructions apply to Fiat Ducato up to approximately model year 2021 and Citroën Jumper / Peugeot Boxer up to approximately model year 2022.

Before installing Prickstop, prepare the work area carefully. Suitable trim-removal tools make it much easier to remove panels and clips without damage.
We recommend a trim and clip removal tool set to help avoid scratches and broken retaining tabs.
Installing Prickstop on the driver's door
Required tools:
- Phillips screwdriver
- Torx T30
- 10 mm socket with ratchet and extension
- Trim-removal tool
- Utility knife, adhesive tape, paper or cloth towels
Removing the trim parts
Removing the speaker
The speaker grille is clipped in at several points. Carefully pry it off with a trim-removal tool and pull it forward. Remove the screws behind it.


Removing the power-window switch
Use a trim-removal tool or plastic spatula to pry the console out of the door trim. Start at the rear end and carefully lever it upward.

Removing the door-handle covers
Carefully pry out the plastic cover behind the door handle and remove the screws underneath.


Release the cover at the rear end of the armrest, slide the upper part backward and pry it upward. Remove the two screws.

Removing the armrest
The armrest remains attached to the door-opening cable. Temporarily secure it with adhesive tape so the door trim can be removed.

Removing the door trim
Carefully pry the door trim loose all around and release the clips. Cut the protective foil crosswise and reseal it carefully after installation.

A) Installing Prickstop – interior version

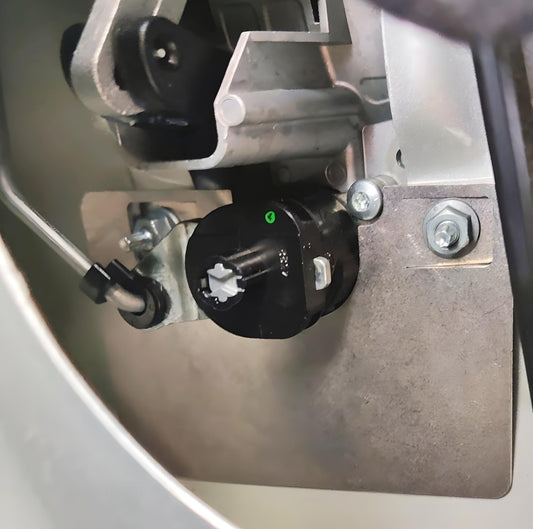
Fill the area below the door handle with cloths so that nuts or tools cannot fall into the door. Lightly grease the socket if necessary.
Completely remove both nuts, place Prickstop onto the threaded studs and tighten the nuts again. Reseal the foil and reinstall the trim in reverse order.
B) Installing Prickstop – exterior version
Loosen the two nuts by approximately 3 mm. Loosen the additional nut above and to the left by approximately 3 mm as well.


Slide the lower part of the protective plate underneath the door handle and temporarily secure it. Insert the upper part, lightly tighten the nuts, align both plate sections and then tighten the nuts.

Installing Prickstop on the rear door
Open the rear-door trim and position Prickstop between the existing sheet metal and the body, or install it in the same manner as on the driver's door.

Installing the rear-door lock

Mark the position, remove the red screws and loosen the other screw by approximately 3–4 mm.

Slide the lock into position, check the fit and tighten it. Repeat the procedure on the other side.

Insert the locking pin: upper position = open, lower position = locked.
YouTube installation videos
You can find numerous useful installation videos on YouTube. We recommend watching a few before starting the installation.